
Typical South Florida Wall
The typical thermal insulation that I see in brand new buildings in South Florida (hint: I only see sick buildings) consists of layers of paper or plastic film and aluminum film. It’s found behind the interior sheet rock. The thermal performance is very prone to field installation quality, and we saw large thermal discrepancies in the field. We collected several samples by tearing them off the wall here and there, and decided to see how they behave moisture-wise.
The manufacturer of the most commonly installed material of this kind has not shared the relevant testing reports with us, in spite of numerous requests over many years. Only the results are available.
We verified it the way we normally advise architects to test samples of interior materials: by placing it over your cup of hot beverage, and covering it with an empty cup.
It’s a quick test, as you would typically get results in less than a minute. It’s also scalable: if you have enough patience to measure the temperatures, time the test, and weight the collected condensate, you would obtain the exact permeability values, and if you repeat it several times to be sure, your numbers would be as good as those from the accredited/certified lab.
In most cases you would be testing unrated materials (e.g. good luck getting permeability number of an interior carpet from their supplier) that are intended for installation on the interior of the enclosure. If your carpet is intended on a floor over an unconditioned space, you’d need to select it coordinating with the other layers and climate: in Bahamas it needs to be permeable, not so much in Alaska.
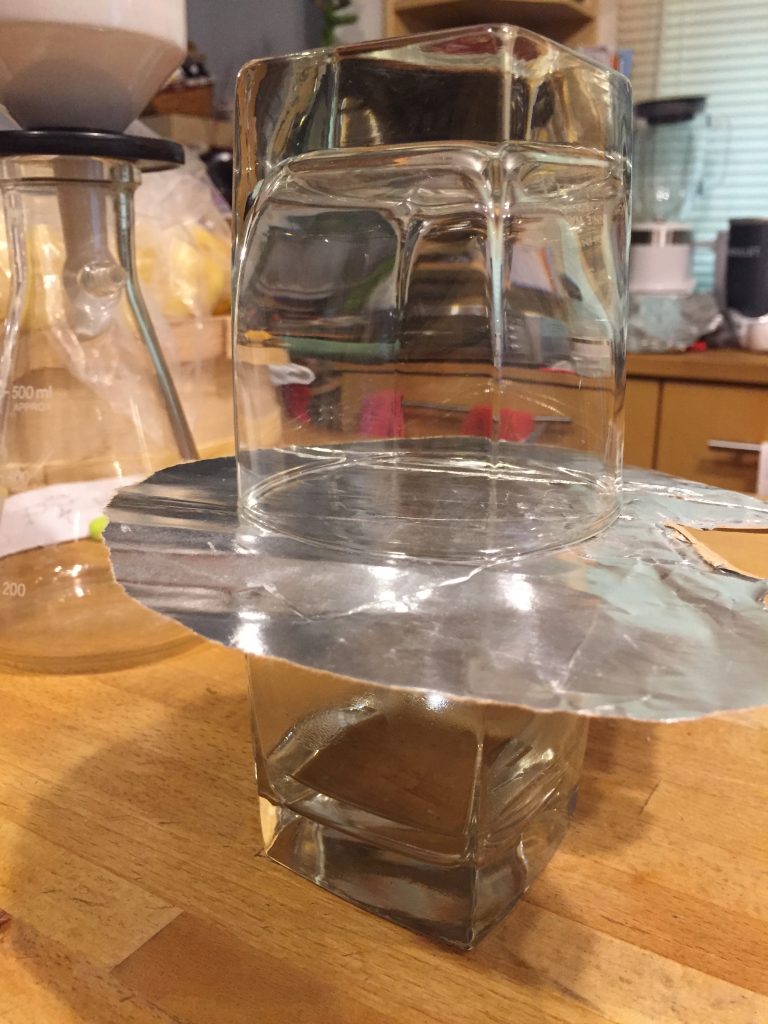
One layer is covered with aluminum film. This thermal insulation is supposed to block thermal transmittance in radiant mode, which requires metallic surfaces for low emissivity.
The top cup remained clear. No surprises here: the aluminum film is vapor impermeable, just like an aluminum foil used to wrap meals in our kitchen won’t let any flavor to escape.
(We chose liquor glassed because its the most transparent, and otherwise the photo wouldn’t be clear enough, but you can use any vessels. And, no, we don’t drink at work.)
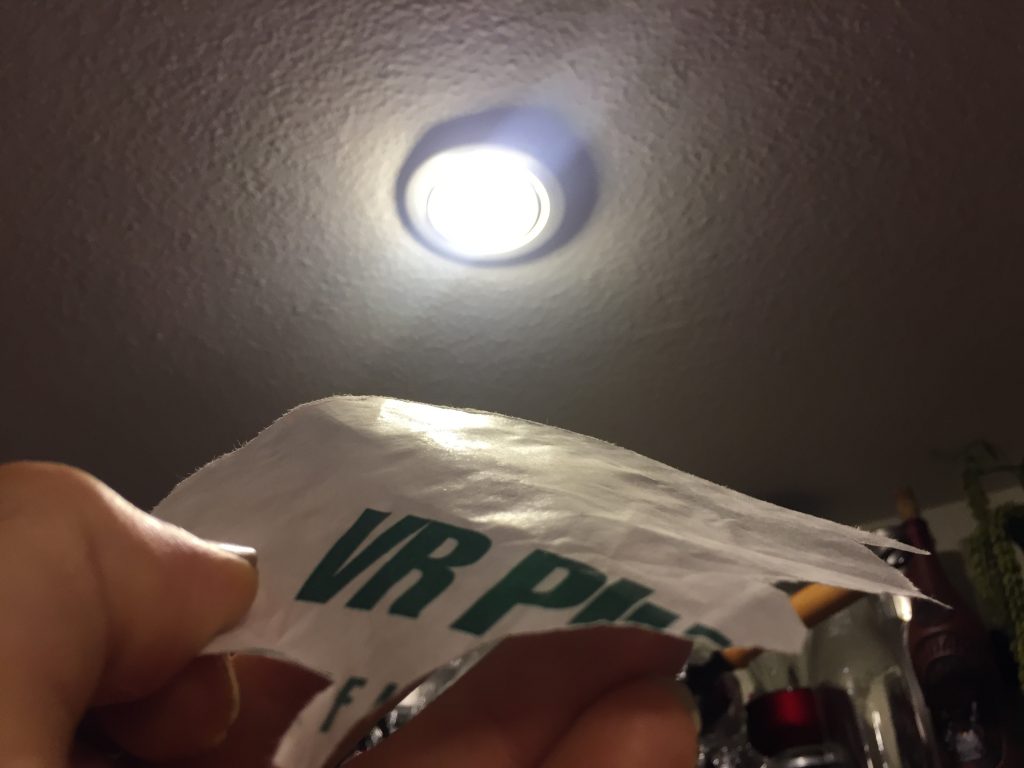
The other layer is made of paper, which is glossy on one side, as you can see here by the light reflection.
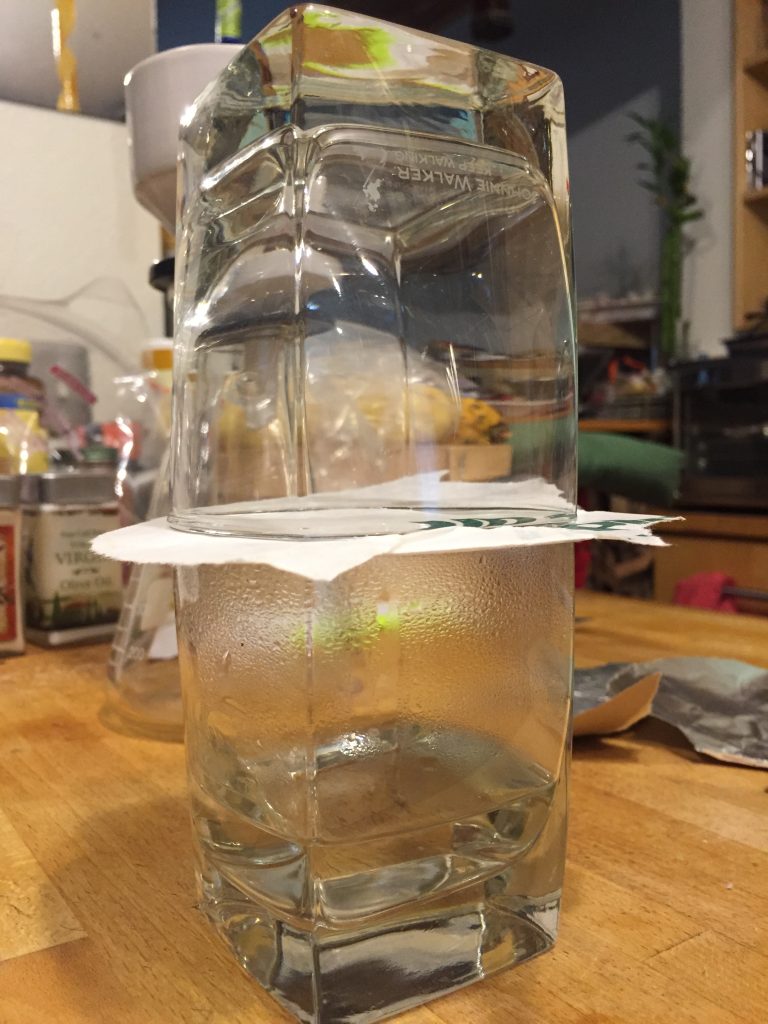
The top cup remains clear. This paper is also vapor impermeable, at least in the short term. The results so far confirm the permeability number given in its specification sheet: 0.018 perm (practically a vapor barrier).
Is it water permeable? We gave it a try, by cutting a circle, placing in a filter holder. Water dripped freely, even before pulling air from the flask below.
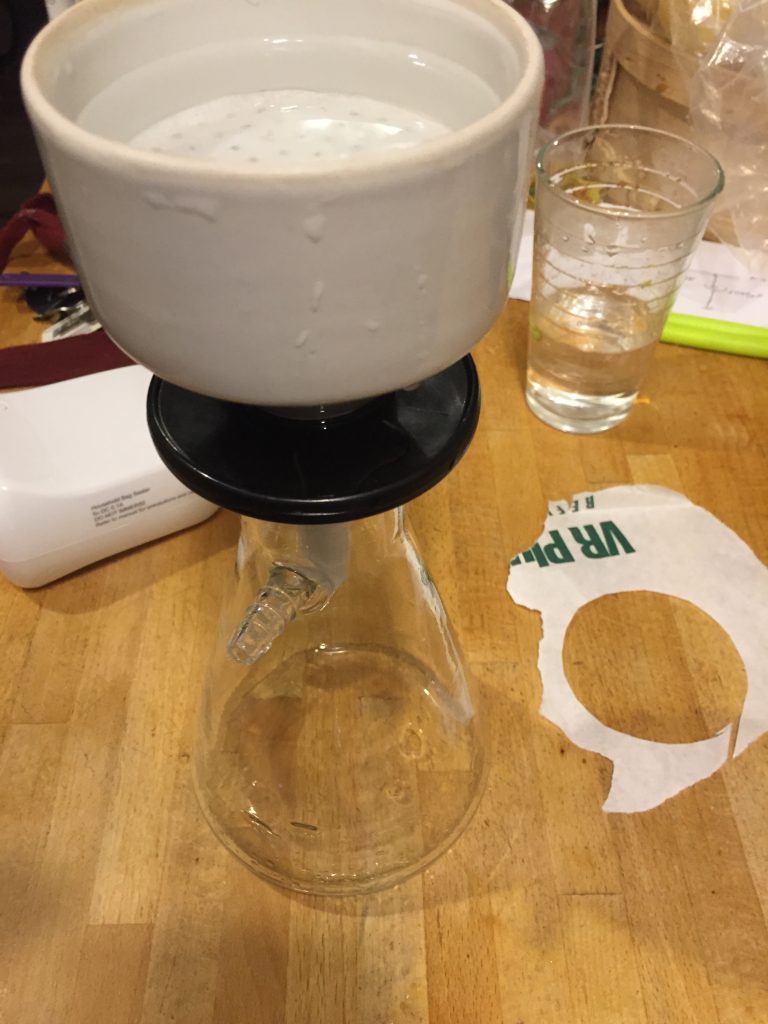
Conclusion: It could be a moisture trap. Per the manufacturer, this material was supposed to be installed continuously, fit snugly, stapled and taped tightly, without voids and interruptions (we have yet to see it installed that way). If this material were installed that way, it would block the inward vapor drive in hot and humid climate. However, since it’s typically installed improperly, we don’t see moisture damage behind it, but its thermal properties vary. But how many owners commission the building enclosures and order thermal studies of their houses?
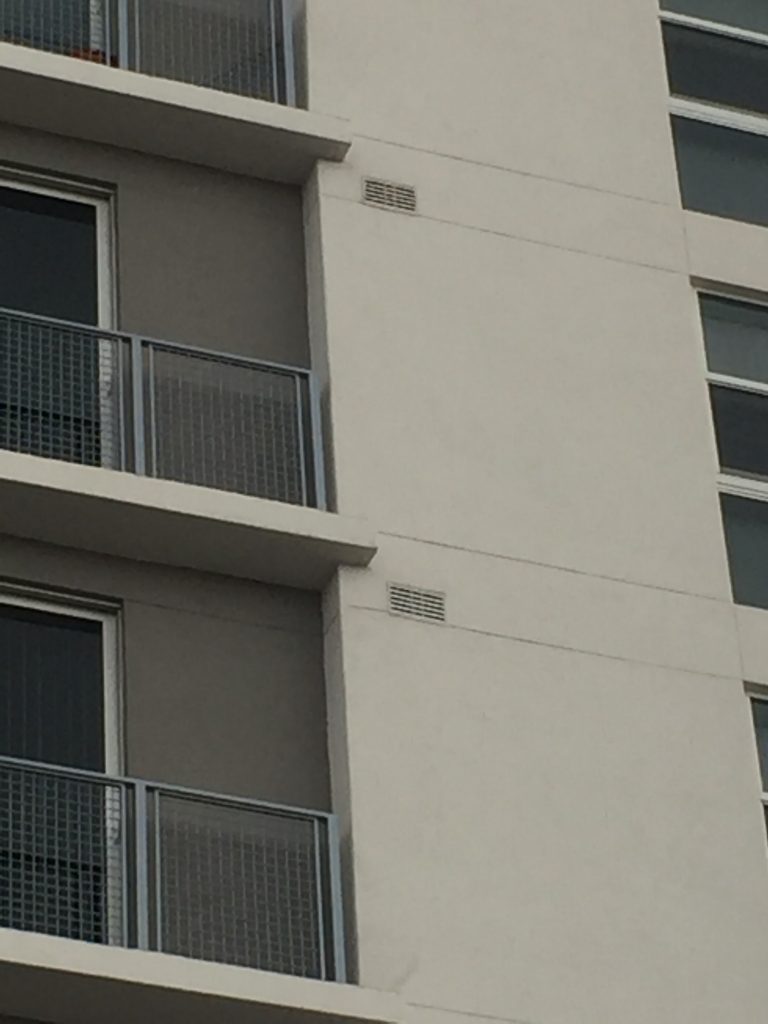
So what’s in front of it? The outer layers of the typical wall we saw in front of it were either a cast-in place or a plastered masonry concrete wall.
(If you are unlucky, it’s a frame wall with a home wrapping paper around it, and if you are really unlucky, it’s EIFS.)
They are also typically void of any vapor barrier, much less any WRB (weather resistive barrier). Whenever I asked designers why, they typically responded that it’s enough that it was coated with elastomeric paint.
Concrete walls are also typically cracked, due to missing or inadequate differential movement compensation. (Want to embarrass an American architect? Ask them to draw your facade tectonics: the pattern of control and movement joints on elevations.) Cracks may differ from those visible across the street, to the invisible ones, for which one needs a bubble gun to find them. An elastomeric paints, regardless how many layers, won’t bridge those cracks. You would need a dedicated, thick “condom” (several dedicated products on the market, typically made with silicone) which we typically recommend to our clients for remediation of such hopeless cases; their cost is significant, and it’s definitely better to avoid the need for their use in the first place.
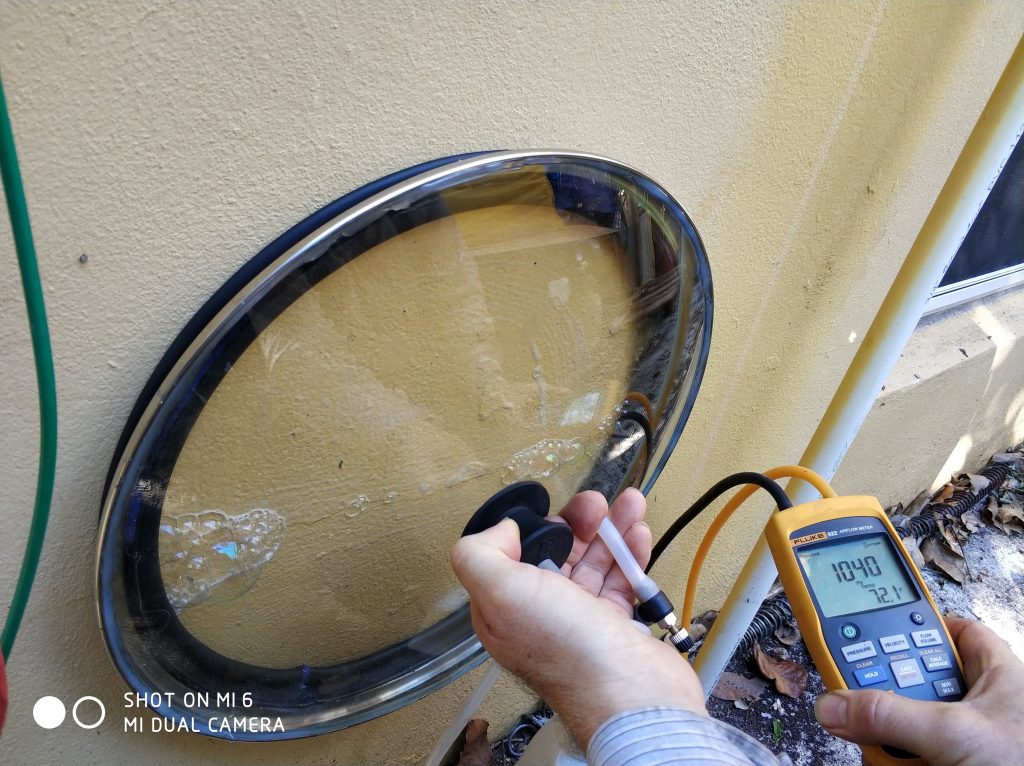
Here is the ASTM E1186 bubble gun testing of such a case, revealing air bubbling through a cracked bed joint of a CBS wall. (It’s coated with at least five layers of elastomeric latex paint.) Many buildings are like this, and historically it didn’t matter, because these are thick walls that were allowed to dry. However, circumstances changed: building interiors in the hot climate are now cooled, less vented, and interior layers of walls are impermeable more often than not. It should be no surprise that buildings also became sicker.
One of the manufacturers of this thermal insulation probably came to the same realization, and now they are also selling a perforated version of this material for those (probably rare) cases where it’s installed properly and moisture entrapment may become a problem. Perforations still don’t make it a good thermal insulator, unless it’s meticulously installed.
Bottom Line: It’s the cheapest rated thermal insulation that we know of. If you use it, you’d need a very anal retentive QAQC in the field, which would make it much more expensive. Otherwise, you may need to rip the walls open later just as we did when we got these samples.
Tips and Tricks of The Trade. What is in your wall and roof and how to test it on your kitchen table? Best things in life are free. Kaz shares these tricks with designers and owners who are often unable to obtain physical characteristics of samples of brand new materials they consider using. In many cases all you need is a cup of hot beverage.
This material republished here is brought to you by Building Enclosure Institute, the Florida Non Profit Corporation.
 3D Thermal Modeling
 Condensation Risk Assessment
 Facade Access
 Facade Engineering. How To Design a Functional Building Enclosure
 Facade Impact Resistance Manual
 Foggy Glass Disease
 How To Write and Read a Forensic Report
 In Support of Glazed Curtain Walls
 Movements and Tolerances
 Review of Curtain Walls, Focusing on Design Problems and Solutions
 Transitions: How to Design Facade Interfaces
 When You Need A Window – Solar Design